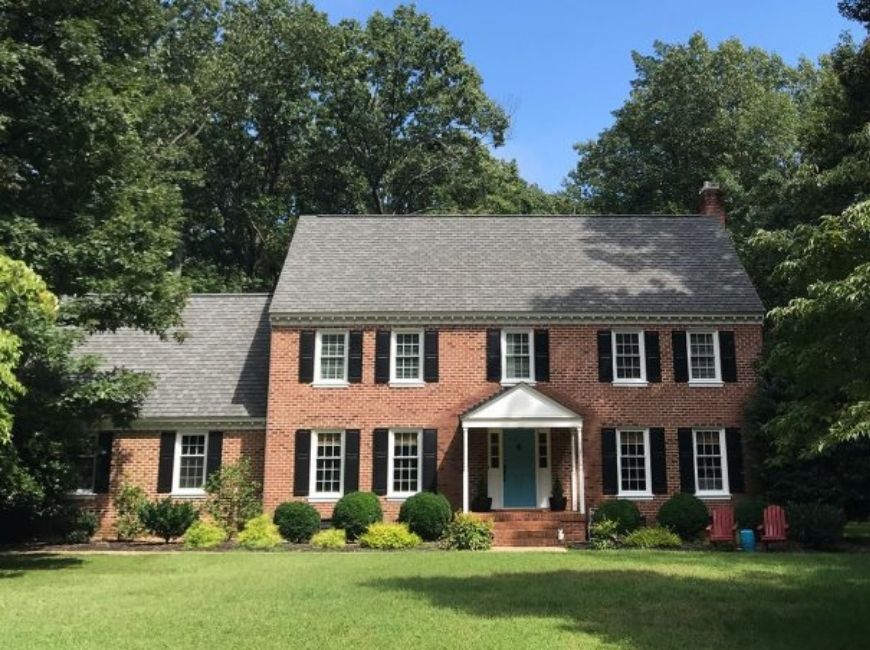
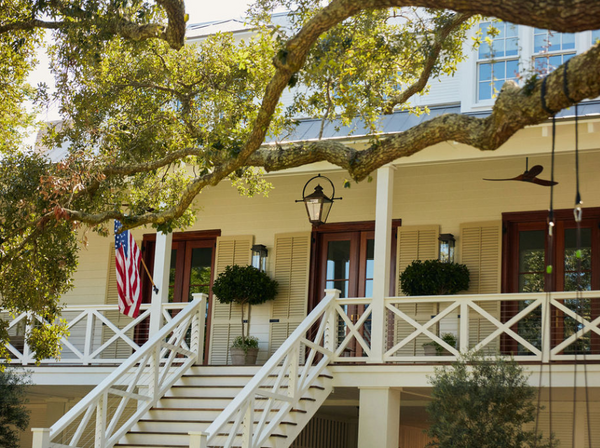
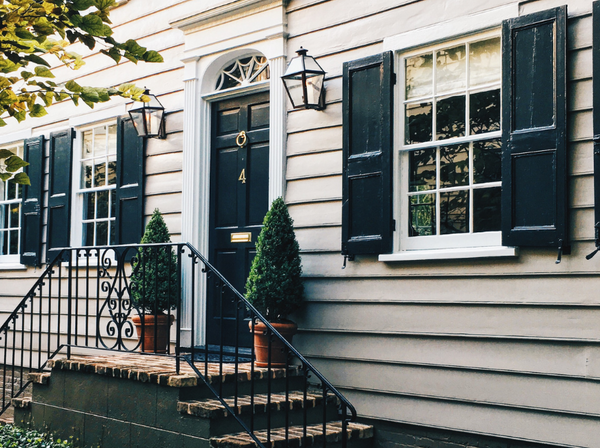
Investing in new shutters for your home can be a big decision — or rather, it can be a series of big decisions! Which shape suits your home, what material is best, and what color should you go with? Once you’ve decided to take the plunge and order primed shutters, the last thing you want is for an improper paint job to ruin your efforts. One issue that people sometimes run into if they’re not careful is cracked paint.
Wondering how to avoid flaking and cracking when painting shutters? Our experts weigh in:

This type of paint cracking is known as paint failure or paint adhesion loss. Technically, paint failure occurs due to a poor bond strength between a coat of paint and the surface to which it’s applied. There are a couple of things that can cause this failure, ranging from weather to improper application. Ahead, learn more about paint cracking and what you can do to avoid it:
What causes flaky and cracked paint on shutters?
Flaking and cracking are two distinct issues, but they can happen simultaneously. Flaking happens when paint is lifted from the underlying wall surface, while cracking is caused by the actual splitting of a dry paint film from one or more coats of paint.

Here’s what our experts say you should avoid:
Water/Humid Conditions: When paint is applied to a damp surface, or if the paint is exposed to high levels of humidity, it can peel or crack easily. This is important to note if you live in a high-humidity area.
Low-Quality Paint: “Bad” or expired paints peel more quickly than fresh, high-quality paint. Don’t skimp on this part of your purchase!
Improper Application: The number one cause for paint cracking is due to improper application. If you’re brand-new to painting shutters, take the time to educate yourself on the ins and outs of applying high-quality paint to a properly prepared surface. Otherwise, consider hiring a professional to paint them for you.

Why did the paint on these shutters crack?
Based on these images, the issue in the paint appears to be one of two conditions, or a combination of the two. First, it could be that a second coat of paint was applied before the first coat of paint dried. Paint must FULLY dry in between coats.
Secondly, it’s possible that the shutters were left in the elements (meaning they were exposed to humidity or rain) between coats. If moisture was present or the second coat was applied prior to the moisture subsiding, that could’ve caused the cracking.
Do you have a properly primed shutter?
If you’re planning on tackling the painting yourself, it’s critical that you pay attention to your paint and primer types. For our primed options at Monument Shutters, we use a 100% acrylic water-based, primer sealer.
When our composite, primed shutters arrive they sometimes require a light sanding on top of the primer. They can then just be wiped off with a rag before painting. As for our raw/unfinished wood shutters, we would also recommend a light sanding before applying a primer.

Can the shutters expand and crack paint?
Here at Monument Shutters, we use Geldwin Extira Composite which does not expand or contract in higher or lower temperatures, moisture levels or while drying — and so the materiality is not in question when it comes to cracking in paint. Composite is pressurized under extreme pressure and baked under extreme heat during its natural manufacturing process.
On the other hand, plywood can expand and contract depending on humidity levels, making it prone to cracks and flaking in the surface coating. It’s worth investing in composite shutters if you’d like to avoid this issue.
More good news: Our primed shutters can be painted any color, so you don’t have to worry about choosing from a designated color palette.
Now that you know more about how to avoid paint cracking, you should feel more ready to embark on your shutter painting adventure. For the best quality and properly primed surfaces, explore our range of primed shutters now!


